说明
前面文章介绍了如何利用
docker搭建selenium gridselenium grid由一个中心Hub节点和大于等于1个的Node节点组成,所有的Node节点都要注册到Hub节点。测试执行时所有的请求发送到Hub节点,Hub节点再将执行指令分发到多个注册的Node节点,Node节点是真正执行Web测试的节点,就相当于selenium本机执行一样。网上很多教程都是使用多进程/多线程启动多个
node去执行用例,这样的意义并不大,如果一个Node中的用例太多,并不会节约多少时间,如果开启太多的进程用node去跑用例,无论是管理用例的复杂性和损耗资源都不是成正比正确的使用场景是一个
node里面再去分布式执行用例,其实java中的testng提供这样的功能,而此次我介绍的是用python,因此需要集结合pytest
环境搭建
- 本机
window10安装好python3 pytestpytest-html生成测试报告插件pytest-xdist 分布式用例
1 | pip install pytest |
- 修改
pytest源代码文件,解决报告乱码问题
1 | D:\app\Python37\Lib\site-packages\pytest_html\plugin.py |
- 看下我的代码结构
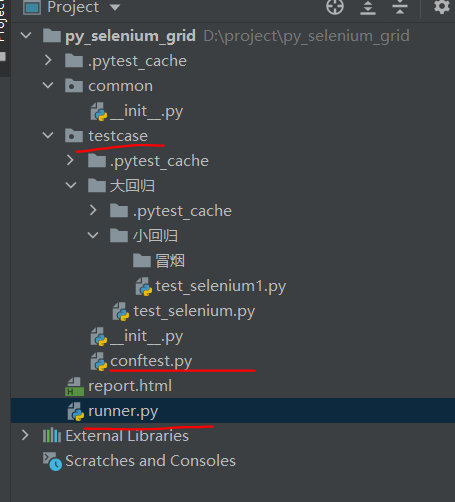
- 核心目录是
testcase是用例目录,里面分为了大回归、小回归、冒烟文件夹,用例放不同的用例,这样的放的好处非常明显了,大回归包含小回归和冒烟,小回归包含冒烟 testcase目录下由conftest.py这里面对pytest和pytest-html可以进行有些设置
1 | # conftest.py |
- 用例编写
1 | # test_selenium.py |
- 代码运行入口
1 | # runner.py |
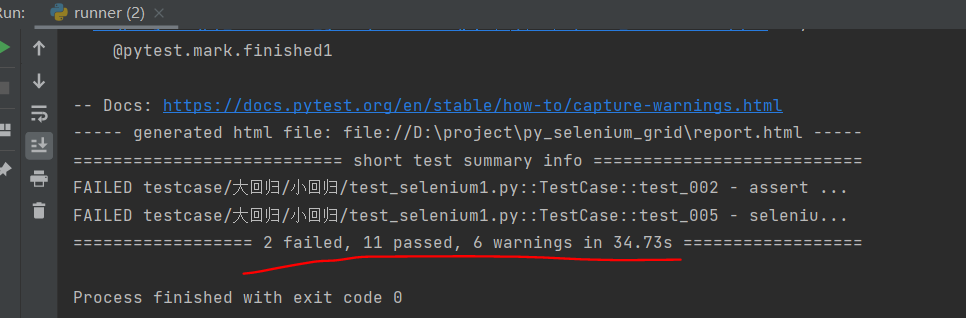
- 看下代码运行结果
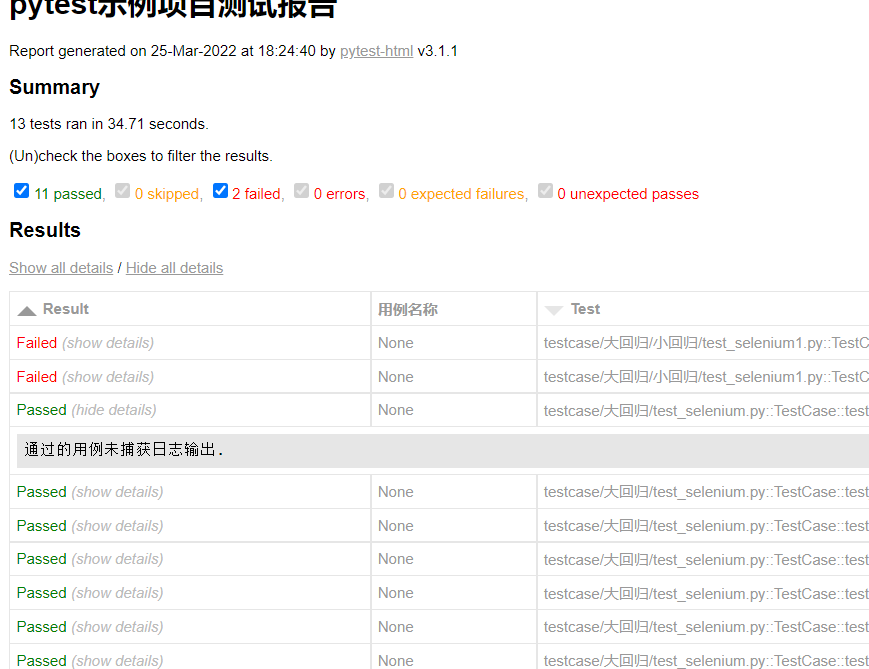
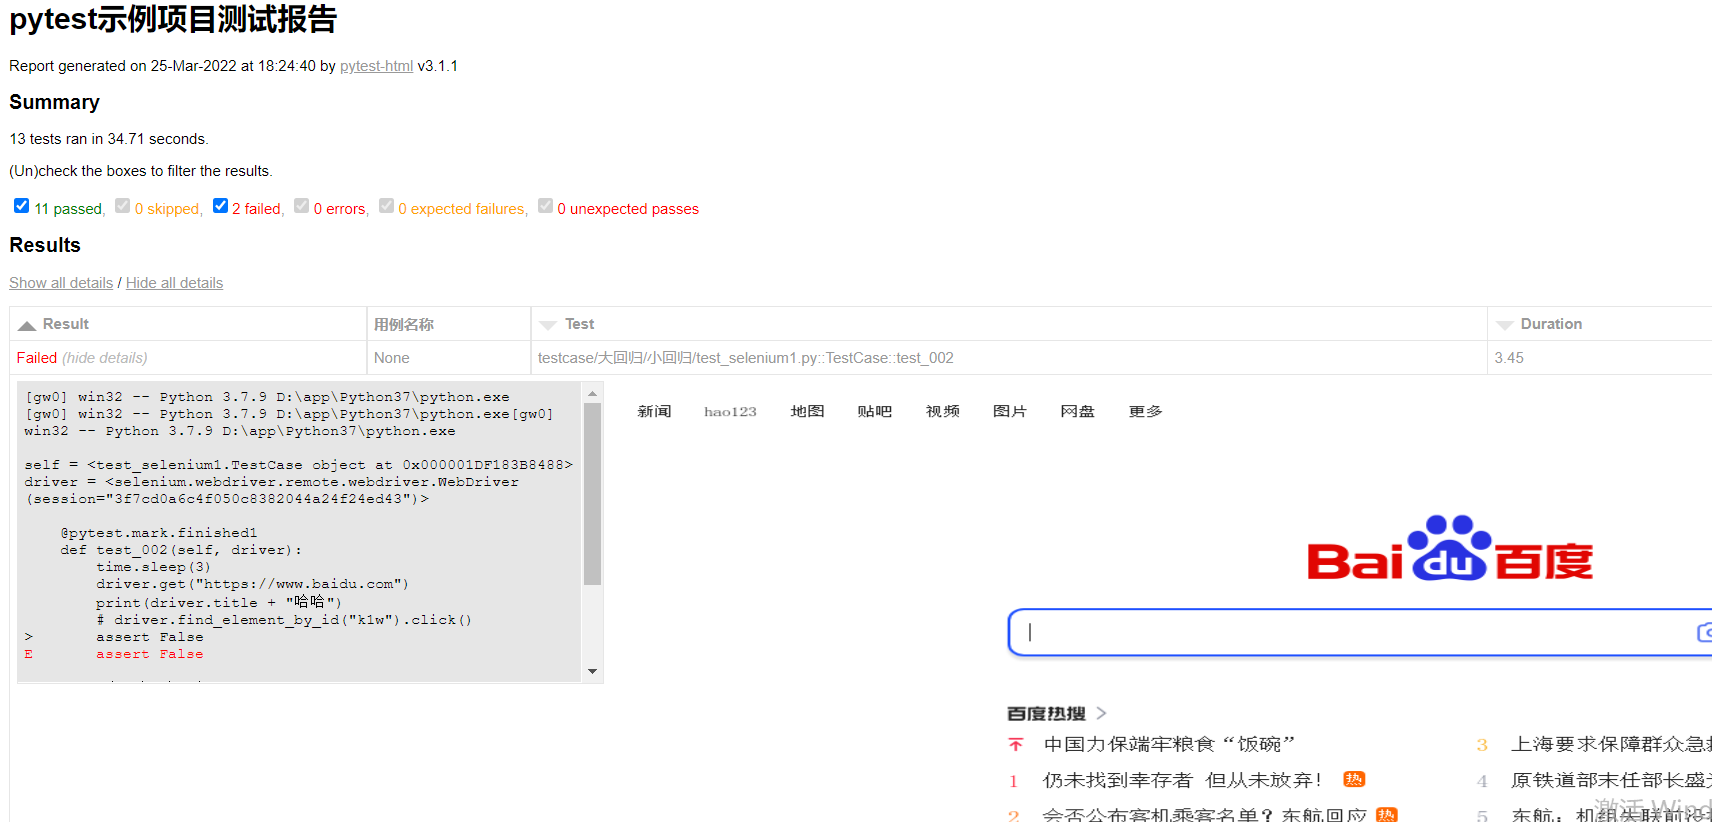
- 看下本地的测试报告,错误的自动截图
其他
pytest-xdist经过测试,在云服务器(双核)上跑,可以正常跑,如果指定进程太大,会造成容器内存泄漏,服务器出现长期卡死,所以建议:每次执行任务时,都把容器删了重建,同时进程不要指定太大- 可以进入到
docker容器中排除内存情况:docker exec -it ec3d30bff042 top,其中ec3d30bff042是selenium/node-chrome的镜像
- 可以进入到
- 测试了
pytest-parallel这个无论是在服务器还是本地win上跑,都报错 - 使用了
pytest-multithreading发现个问题pytest-html上的记录日志,会被打乱,因此如果要使用的化,建议在conftest.py中,记录日志的代码去掉- 多线程访问百度网站,会被限制输入验证信息
- 安装
pip install pytest-multithreading -i https://pypi.douban.com/simple - 调用
pytest -s testcase/大回归/小回归/冒烟 --th 10 --html=report.html --self-contained-html --capture=sys
总结
- 当然如果没有条件,你对本地搭建
selenium grid有兴趣的化,可以参考我之前的这篇文章,源代码都提供好了 - 后续工作就更加简单,比如jenkins启动,我会对接一个可视化平台实现:任务管理,报告分析等