0%

pytest+airtest+多设备

说明

  • airtest自动化测试框架,使用的是unittest管理用例和air写用例,想试下使用pytest+纯py的方式,代码采用了PO代码接口

代码分析

  • 目录结构如下

image-20220419152528261

  • 先看下testcase用例目录下的conftest.py
1
2
3
4
5
6
7
8
9
10
11
12
13
14
15
16
17
18
19
20
21
22
23
24
25
26
27
28
29
30
31
32
33
34
35
36
37
38
39
40
import pytest
from py._xmlgen import html
from airtest.core.api import *


# 注意pytest传参时,需要把设备编号收到传进来
def pytest_addoption(parser):
parser.addoption("--dev", action="store", dest="dev",default="设备")

@pytest.fixture(scope='session')
def dev(request):
return request.config.getoption("dev")


_poco = None


# @pytest.fixture()
@pytest.fixture(scope='session', autouse=True)
def poco(dev):
global _poco
device = connect_device("Android://127.0.0.1:5037/%s" % dev)

from poco.drivers.android.uiautomation import AndroidUiautomationPoco
_poco = AndroidUiautomationPoco(device, use_airtest_input=True, screenshot_each_action=False)
# 返回数据
yield _poco
# 实现用例后置


def pytest_html_results_table_header(cells):
cells.insert(1, html.th('用例名称'))
cells.insert(2, html.th('Test_nodeid'))
cells.pop(2)


def pytest_html_report_title(report):
report.title = "pytest示例项目测试报告"

  • 看下页面对象代码
1
2
3
4
5
6
7
8
9
10
11
12
13
14
15
16
17
18
19
20
21
22
23
24
from airtest.core.api import snapshot, start_app, sleep, stop_app
import logging
from datetime import datetime
class MyPage(object):
@classmethod
def home(cls, poco):
logging.info("开始测试"+ datetime.now().strftime("%H:%M:%S"))
try:
stop_app('com.jianshu.haruki')
start_app('com.jianshu.haruki')
sleep(5)
except Exception:
pass
try:
poco("com.jianshu.haruki:id/iv_home_page").wait(10).click()
logging.info("点击了首页"+ datetime.now().strftime("%H:%M:%S"))

except Exception as e:
# snapshot(msg="报错后截图")
raise e

@classmethod
def info(cls):
pass
  • 然后用例调用page
1
2
3
4
5
6
7
8
9
10
11
12
13
14
15
16
17
18
import pytest
from pages.my_page import MyPage


class TestCaseTestMy(object):

@pytest.mark.finished1
def test_my_01(self, poco):
MyPage.home(poco)

@pytest.mark.finished
def test_my_02(self, poco):
MyPage.home(poco)

@pytest.mark.finished
def test_my_03(self, poco):
MyPage.home(poco)

  • 运行方式一,直接输入命令
1
pytest testcase/大回归/小回归/冒烟 --dev=emulator-5554  --html=report.html --self-contained-html --capture=sys
  • 运行方式二,直接运行runner.py
1
2
3
4
5
6
7
8
9
10
11
12
13
14
15
16
17
import os
from multiprocessing import Process
import pytest

def main(path, report, dev):
pytest.main(['%s' %path,'--dev=%s'% dev, '--html=%s' % report,'--self-contained-html', '--capture=sys'])

if __name__ == '__main__':
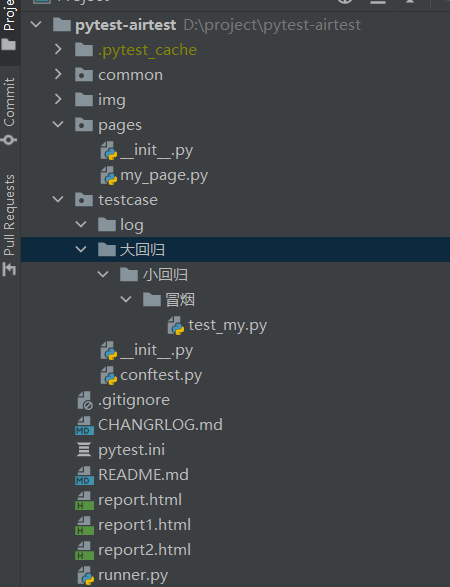
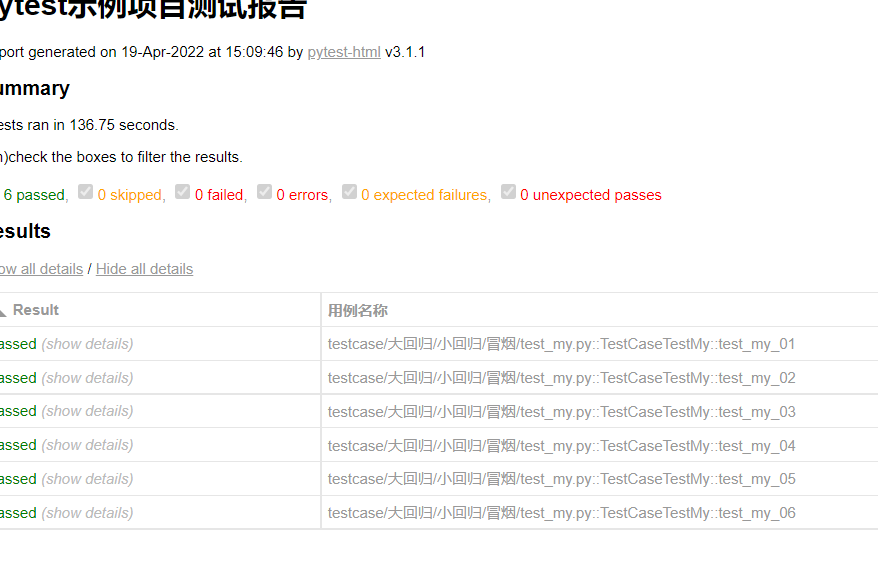
test_case = Process(target=main, args=("d:\\project\\pytest-airtest\\testcase\\大回归\\小回归\\冒烟","report1.html",'ZL9LC685V86DNNMN'))
test_case.start()


test_case1 = Process(target=main, args=("d:\\project\\pytest-airtest\\testcase\\大回归\\小回归\\","report2.html",'emulator-5554'))
test_case1.start()

test_case.join()
test_case1.join()
  • 测试报告,每个进程都生成了测试报告

image-20220419153433685

总结

  • 发现其实采用这样的方式来写代码,反而回降低用例的维护速度,无论是使用airtest还是appium,都不要太迷恋所谓的PO分层架构(TC+PO+YML/JSON,因为这也是之前某个自动化测试框架跨公司、跨部门推广失败原因之一
  • 有兴趣的话,我已经把此代码开源,可以查看github或者gitee