关于PC自动化
无论使用那种PC自动化工具,首先需要知道应用程序是win32 API 的 backend 为「 win32 」,还是MS UI Automation 的 backend 为「 uia 」
WinAppDriver
它支持 Appium,可以使用 Appium-Python-Client 依赖库完成对 Windows 桌面程序的自动化操作
需要注意的是,要使用 WinAppDriver 服务框架完成 Windows 的自动化,需要满足 Windows10 或 Windows Server 2016 以上系统
另外,它支持的应用程序包含:
- UWP - Universal Windows Platform
- WinForms - Windows Forms
- WPF - Windows Presentation Foundation
- Win32 - Classic Windows
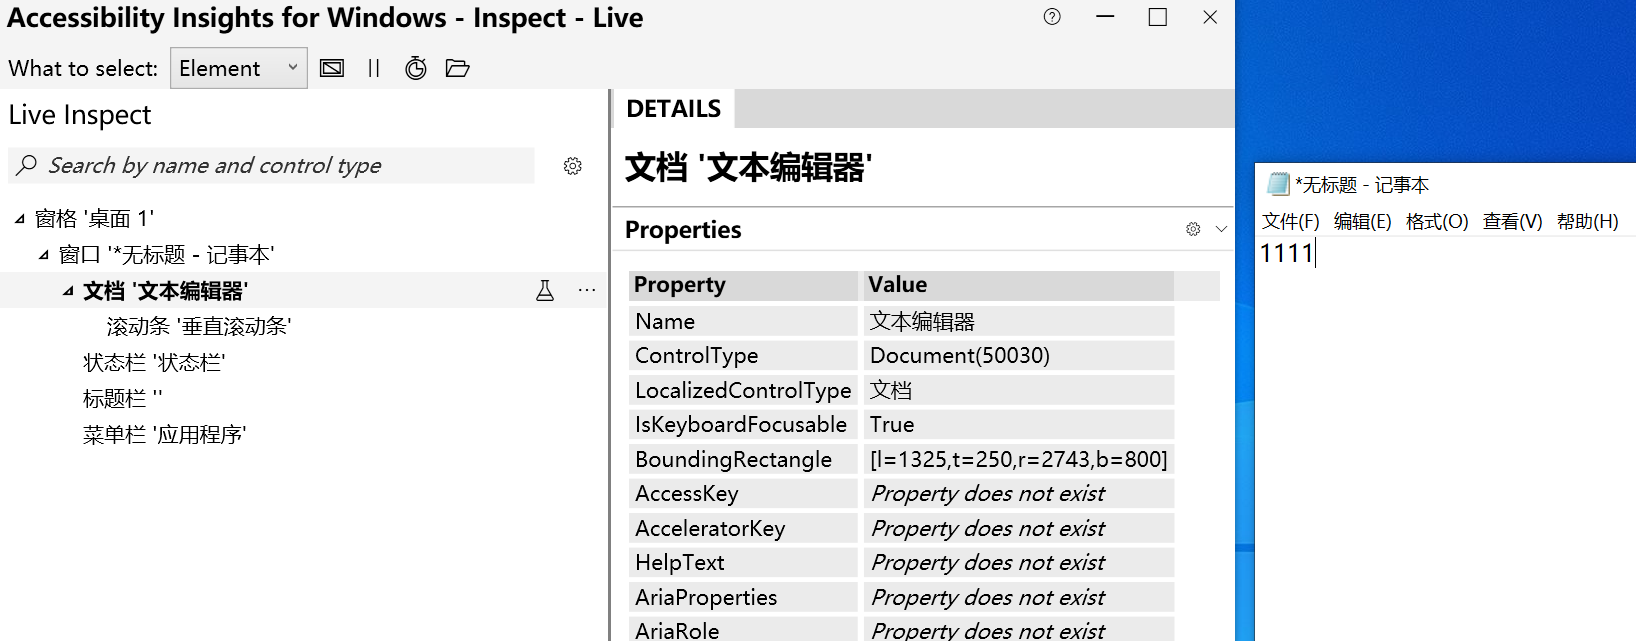
应用检测
- 打开Insights 下载定位工具,检测是否能定位到元素
- 正常定位到元素
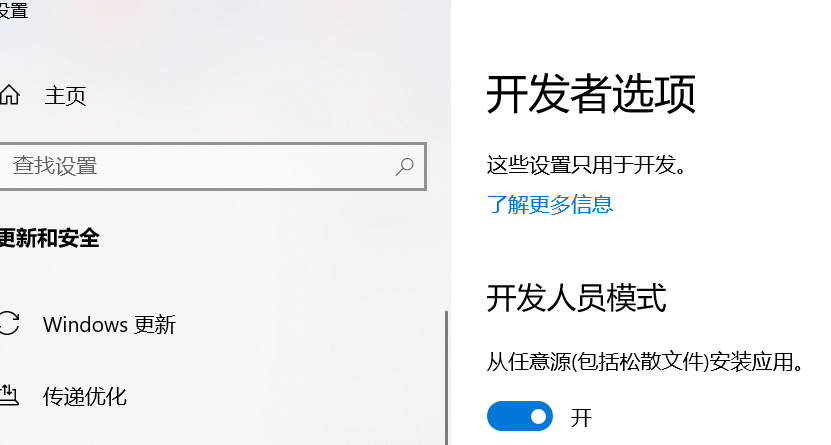
配置
- 开启「 开发者模式 」
下载WinAppDriver
- 打开链接下载,截至到现在最新版本为:
WindowsApplicationDriver-1.2.99-win-x86.exe - 运行WinAppDriver.exe
1 | C:\Program Files (x86)\Windows Application Driver>WinAppDriver.exe 4727 |
代码测试
- 安装selenium,不能用4的版本
1 | pip install selenium==3.14.1 |
- 测试代码
1 |
|
- 查看官网的测试代码
pywinauto
主要使用到
Application类,用于应用程序管理(打开与关闭应用等)、窗口管理(最小化、最大化、关闭窗口)同时支持控件操作和图像操作,支持
Win32 API和MS UI Automation API安装
1 | pip install pywinauto |
应用程序
确定应用程序的可访问技术,pywinauto的后端,支持控件的访问技术:
- Win32 API(backend=”win32”)- 默认的backend,MFC,VB6,VCL。简单的WinForms控件和大多数旧的应用程序
- MS UI Automation API ( backend = “ uia “ ):WinForms , WPF , Store apps , Qt5 , 浏览器
注:可以借助于GUI对象检查工具来确定程序到底适用于那种backend。eg:如果使用 inspect 的uia模式,可见的控件和属性更多的话,backend可选uia,反之,backend可选win32。
常用的检查工具:
Inspect(定位元素工具(uia))
Spy++ (定位元素工具(win32))
UI Spy (定位元素工具)
Swapy(可简单生成pywinauto代码)
定位元素
- 下载Inspect后,定位桌面微信

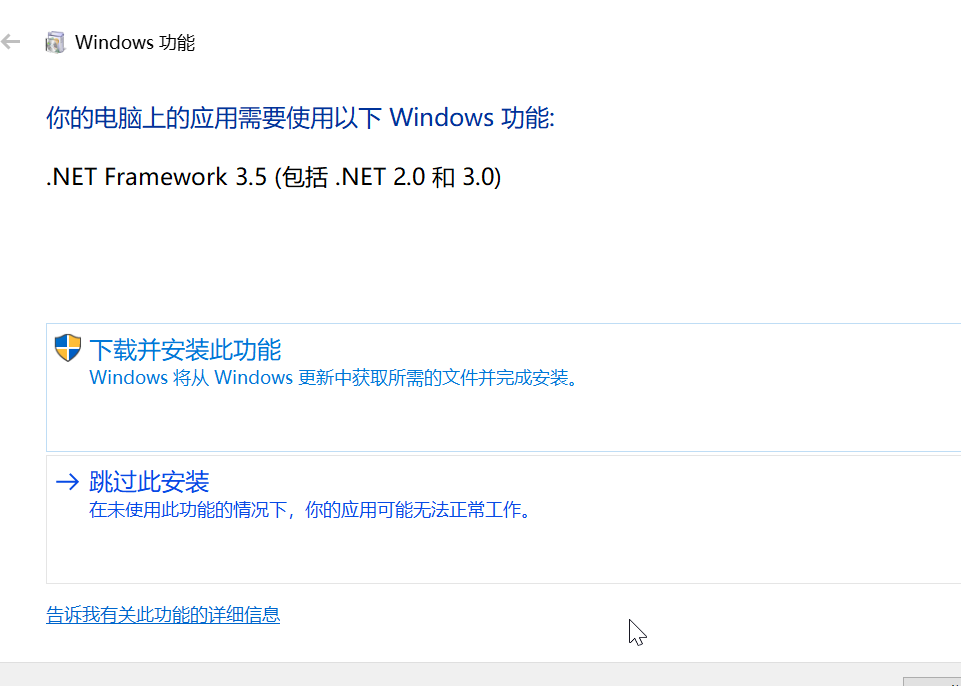
- 用UISpy定位,需要下载.net 3.5
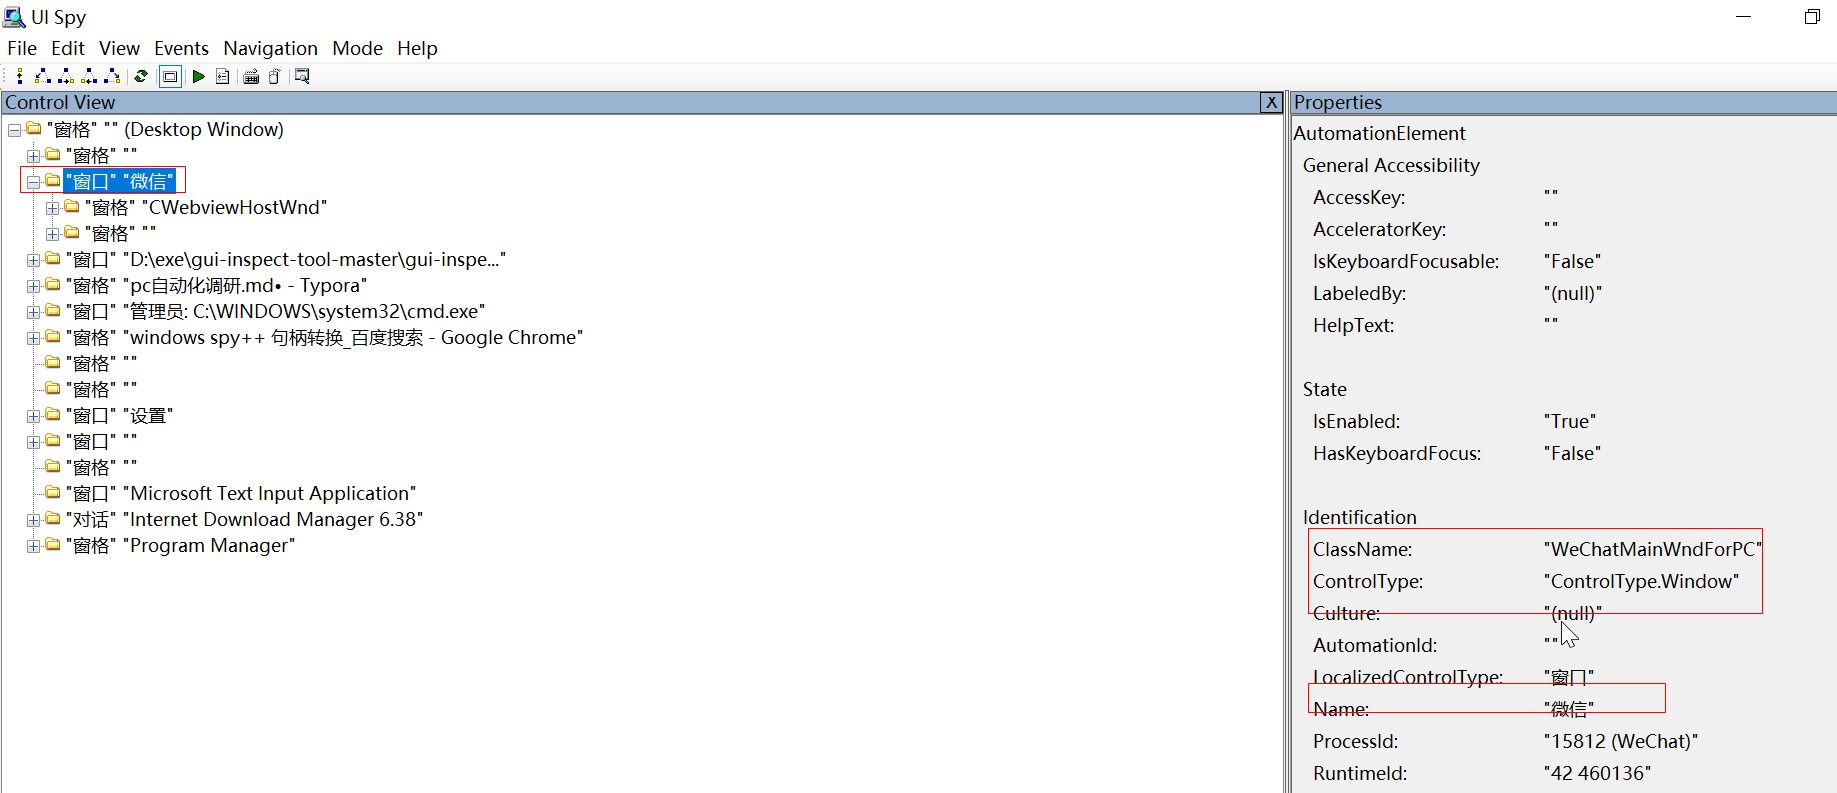
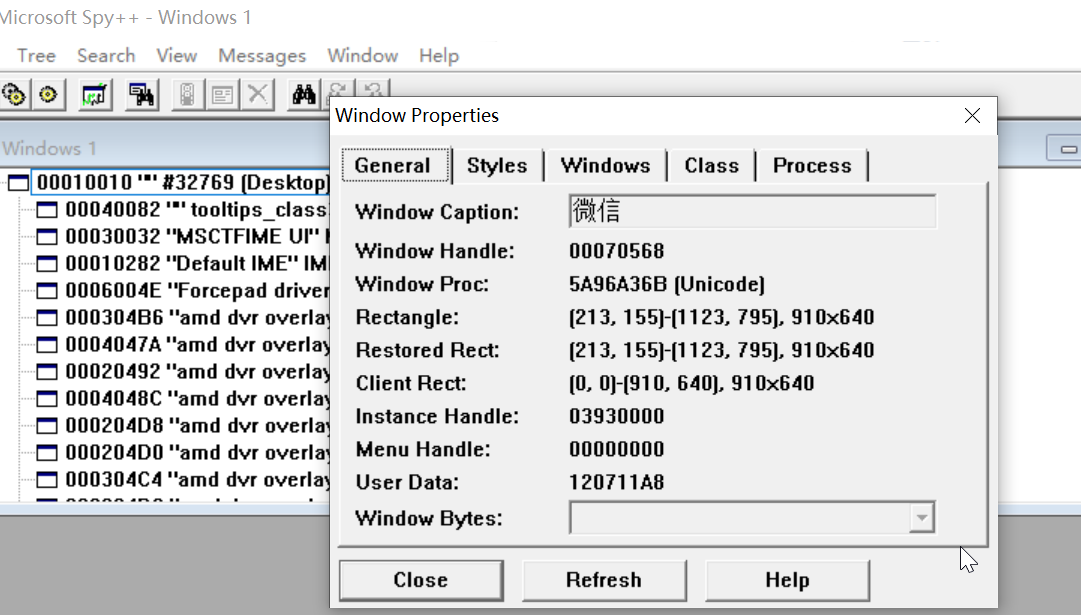
- 用SPYXX.EXE定位,拖动到Finder Tool图标到微信上,识别到后点击OK
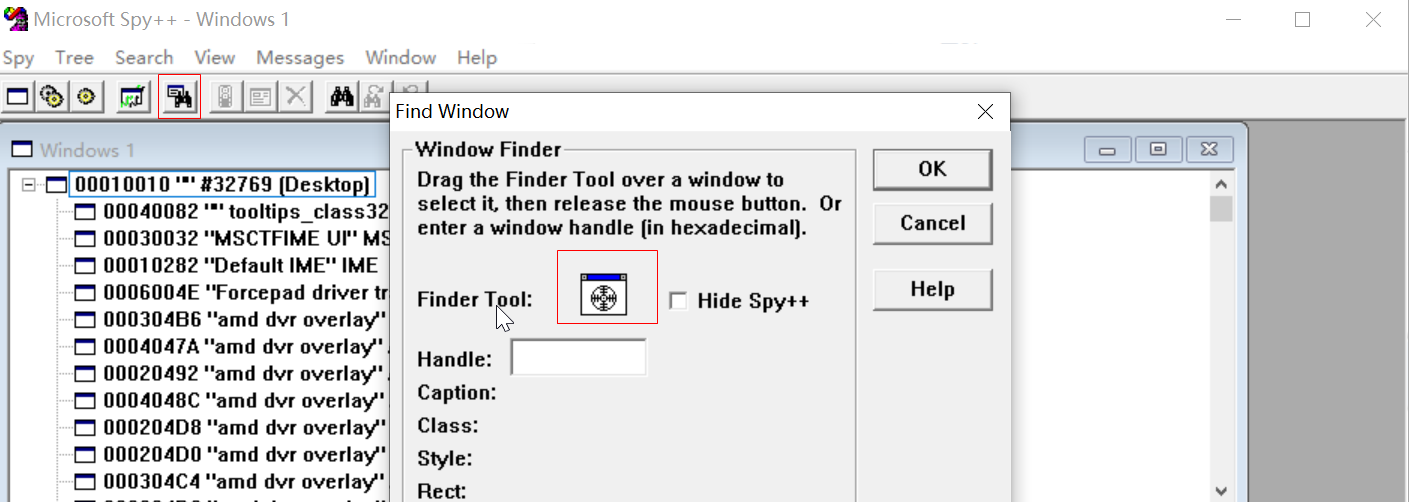
- 看到当期微信的句柄等信息
- 打开并启动app
1 | from pywinauto.application import Application |
- 连接app
1 | app = Application(backend='uia').connect(process=8948) # 进程号 |
注意:应用程序必须先准备就绪,才能使用connect(),当应用程序start()后没有超时和重连的机制。在pywinauto外再启动应用程序,需要sleep,等程序start。
常用方法
Application对象app的常用方法
1 | app.top_window() # 返回应用程序当前顶部窗口,是WindowSpecification对象,可以继续使用对象的方法往下继续查找控件 |
控件的定位和可用方法
层级查找控件的方法:定位控件
1 | # 通过层级查找控件相关方法 |
- 控件可用的方法属性
1 | # 以下几个只支持窗口模式的控件 |
实战
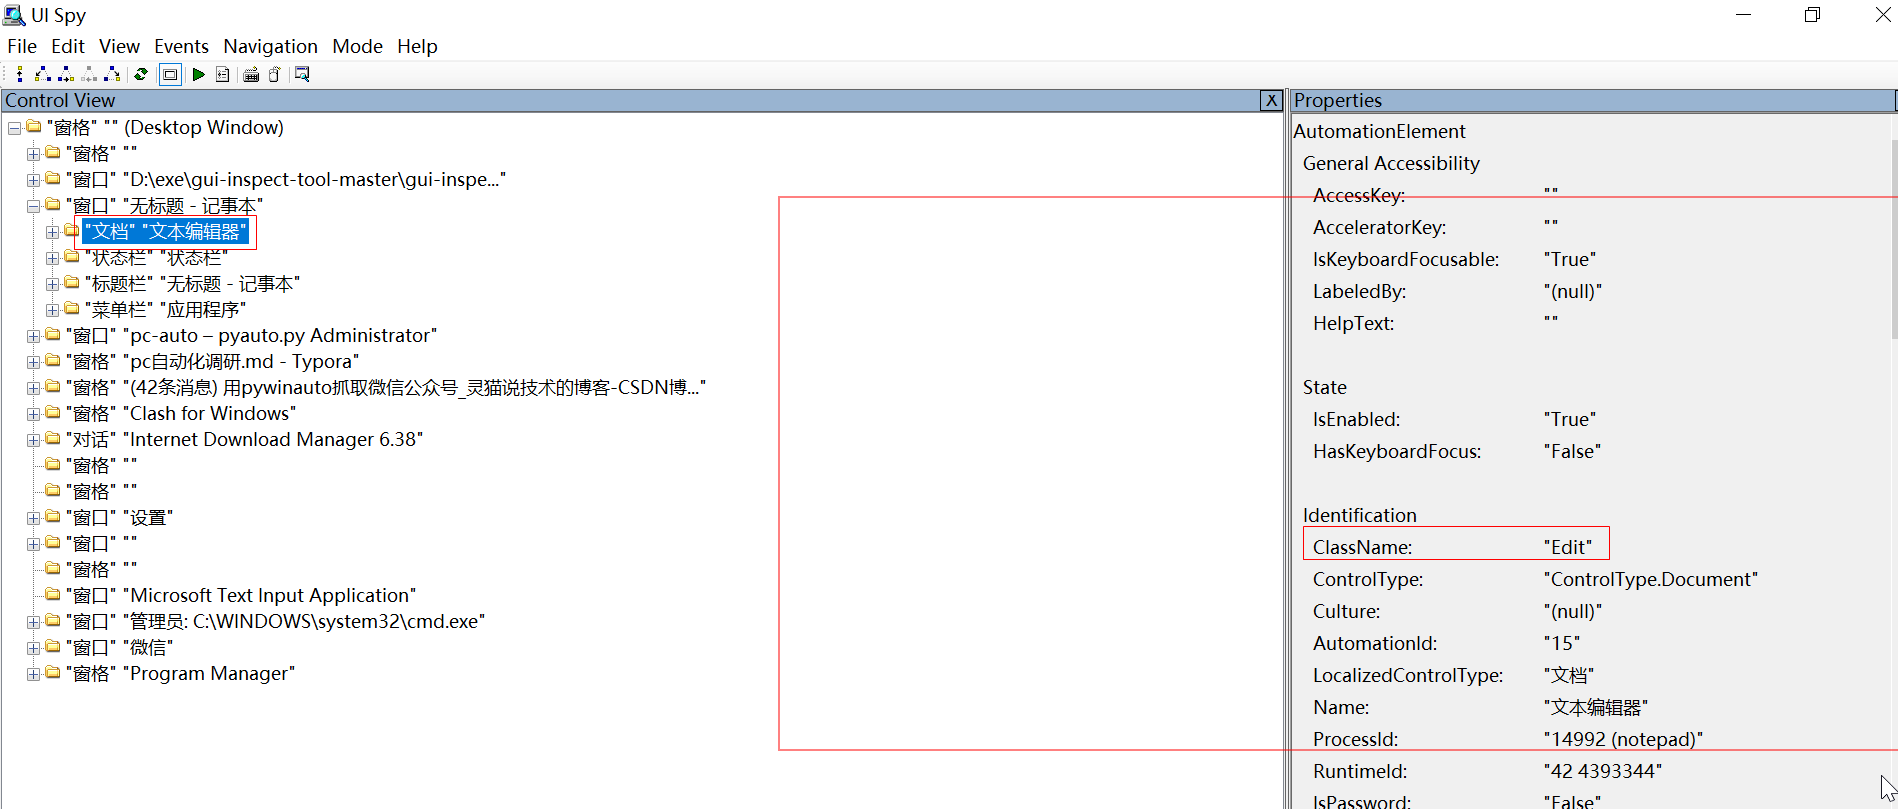
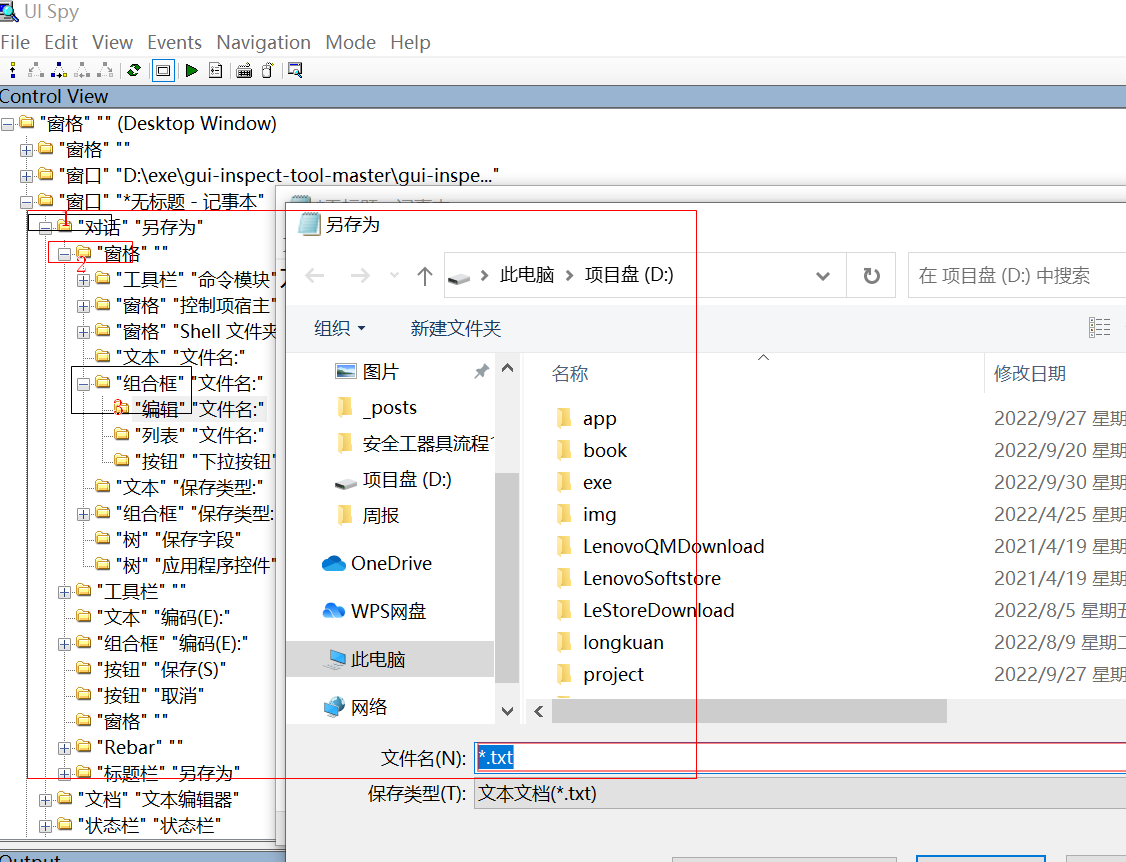
- 用UISpy定位,记事本
不用微信演示,经过测试微信应该做了类似的屏蔽,很多内容获取不到,比如用打印当前窗口的所有controller(控件和属性)
win_main_Dialog.print_control_identifiers(depth=None, filename=None),报错了
- 测试代码
1 | from pywinauto.application import Application |
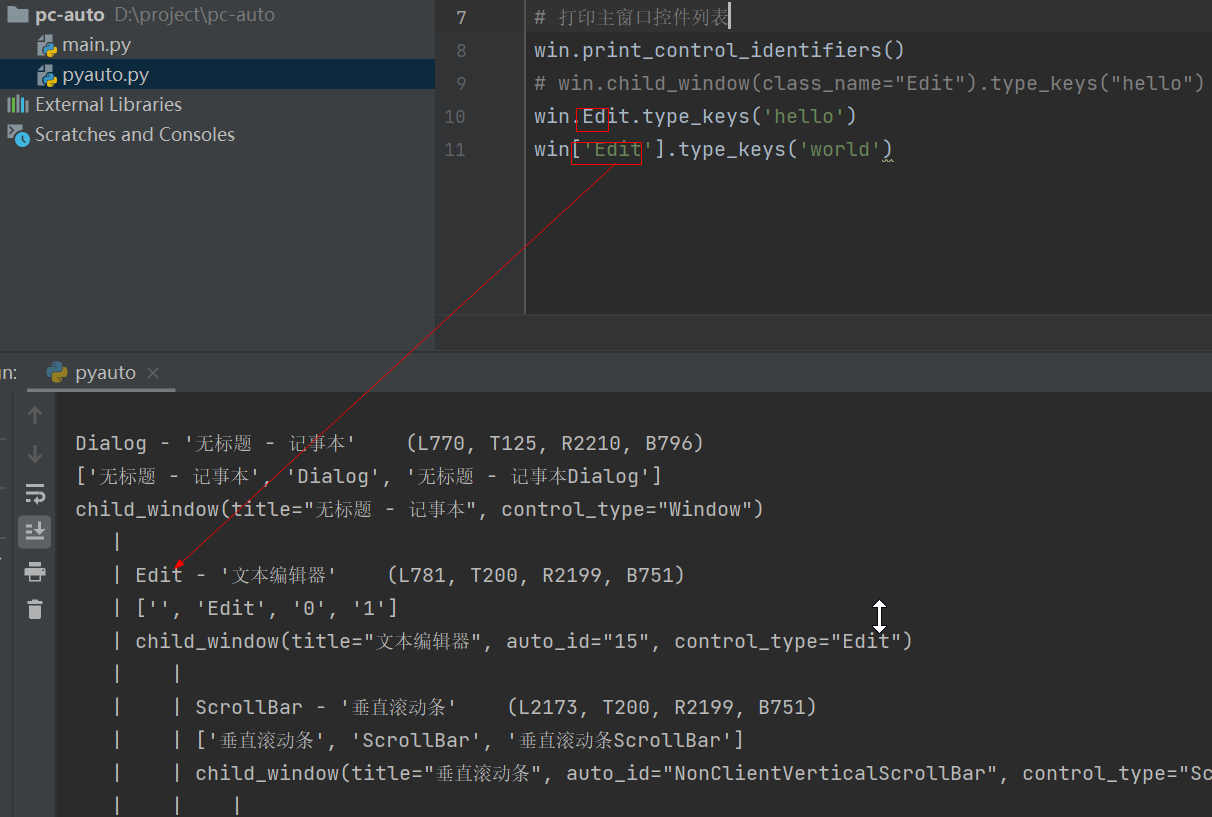
- 还有一种方法是可以打印主窗口控件列表,然后你可以通过控件操作这个对象
1 | from pywinauto.application import Application |
- 打印的值的格式大概如下
1 | Control Identifiers: |
- 调整后的代码为
1 | from pywinauto.application import Application |
- 如果打印全部控件内容太多,也可以打印部分
1 | from pywinauto.application import Application |
- 对应打印的内容
1 | dit - '文本编辑器' (L781, T200, R2199, B751) |
- 两者结合使用
1 | import time |
- 优化下代码
1 | import time |
- 更多api参考这个文档
pywin32
- pywin32 包含 win32gui、win32api、win32con 3个子模块,主要用于窗口管理(定位窗口、显示和关闭窗口、窗口前置、窗口聚焦、获取窗口位置等),通常用的较多的是 win32gui,因此本文仅对此子模块进行介绍
- 安装
1 | pip install pywin32 |
- 常用的事件
1 | #查找窗口句柄 |
- 实例代码打开记事本,点击文件另存为
1 | import win32gui, win32con, win32api |
放弃对这个模块的研究,写用例非常累
pyautogui
- pyautogui 模块主要用于屏幕控制(获取屏幕尺寸、截屏等)、鼠标控制(移动鼠标、单击、双击、右击、拖拽、滚动等)、键盘控制(编辑、按键等)
- 主要是图片识别
几个特有功能
- 移动鼠标并在其他应用程序的窗口中单击。
- 向应用程序发送击键(例如,填写表单)。
- 截取屏幕截图,并给出一个图像(例如,按钮或复选框的图像),然后在屏幕上找到它。
- 找到应用程序的窗口,然后移动、调整大小、最大化、最小化或关闭它(目前仅限 Windows)。
- 显示警报和消息框。
前置参数
- 来自于这里
1 | import pyautogui |
鼠标操作
获取屏幕的宽度和高度
1 | width, height = pyautogui.size() # 获取屏幕的宽度和高度 |
获取鼠标当前位置
1 | currentMouseX, currentMouseY = pyautogui.position() # 鼠标当前位置 |
鼠标移动类操作
1 | # pyautogui.moveTo(x,y,持续时间) 在持续时间内 将光标移动到目标位置(x,y) |
鼠标滚动类操作
1 | # scroll函数控制鼠标滚轮的滚动,amount_to_scroll参数表示滚动的格数。正数则页面向上滚动,负数则向下滚动 |
鼠标点击类操作
1 | # pyautogui.click(x,y,clicks=点击次数,interval=每次点击间隔频率,button=可以是left表示左击 可以是right表示右击 可以是middle表示中击) |
键盘操作
1 | # 相关操作 |
弹窗操作
1 | import pyautogui |
图像操作
1 | import pyautogui |
分辨率适配
注意:pyautogui的图像识别是模板匹配算法 无法跨分辨率识别(图片放大缩小就无法识别) 提供以下图像识别算法
1 | # -*- coding: utf-8 -*- |
实战
- 安装
1 | pip install PyAutoGUI |
- 测试代码
1 | import time |
- 查找的1.png图片如下
- 测试结果
sikulix
基于图像识别的开源工具,支持:
Windows XP, 7, 8 and 10 (development on Windows 10)
Mac OSX 10.10 and later (development on macOS 10.15)
Linux/Unix systems depending on the availability of the prerequisites
有自己的IDE
环境搭建
- java的环境
1 | C:\Users\Administrator>java --version |
打开官网地址下载sikuli的jar包,现在最新版本为
sikulixide-2.0.5-win.jar运行jar,打开ide
1 | java -jar d:\sikulixide-2.0.5-win.jar |
实战
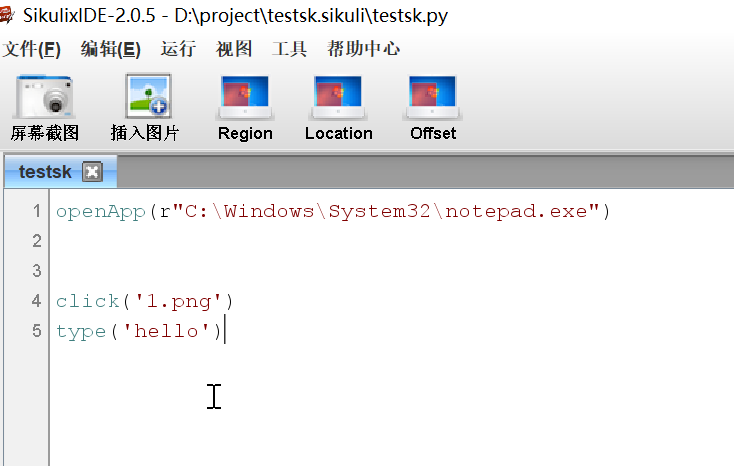
- 打开ide后,写入测试的代码,运行正常,发现一个问题左侧并没有显示常用的api(包括使用快捷键ctrl+t都无反应)
基于python使用sikuli图像识别
- 由于Python不能直接调用Java的方法,需要借助一些第三方的库比如Jython、Jpype、Pyjnius等
- 安装依赖包
1 | C:\Users\Administrator>pip install JPype1 |
- 测试代码
1 | # coding=utf-8 |
- Python调用jar包需要借助于jvm虚拟机,然后需要指定sikulixapi的安装路径,然后将jvm的路径添加到系统的path中(否则会提示jvm无法启动),然后在下方声明一个screen,app类,都是api中的类,然后就可以根据上方的一些方法进行调用
总结
如果使用sikuli和PyAutoGUI,最好配合cv2(opencv)进行不同分辨率适配(这里没有测试)
也有人推荐使用Ranorex ,不过这个是收费的
当然还有一些其他场景没有测试,比如嵌入浏览器的场景