说明
- 本编开始学习JavaWeb开发的内容,环境信息如下:
IDEA,Maven,win10,java version "1.8.0_381"
搭建Servlet
在IDEA中新建webapp
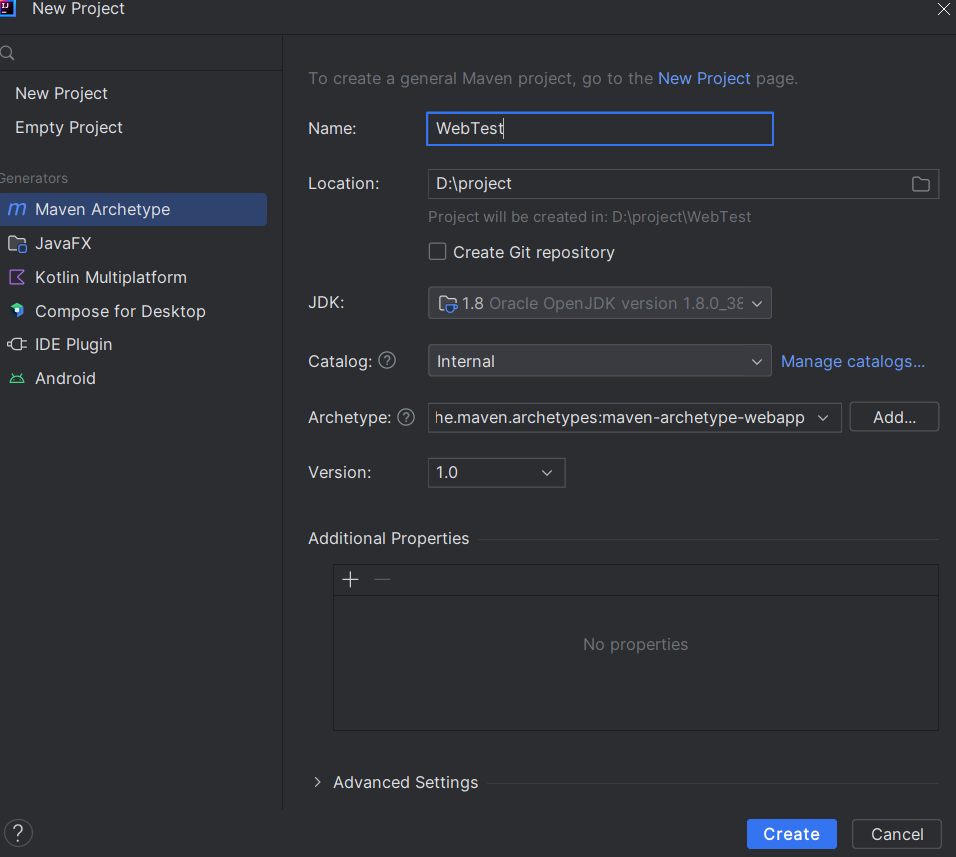
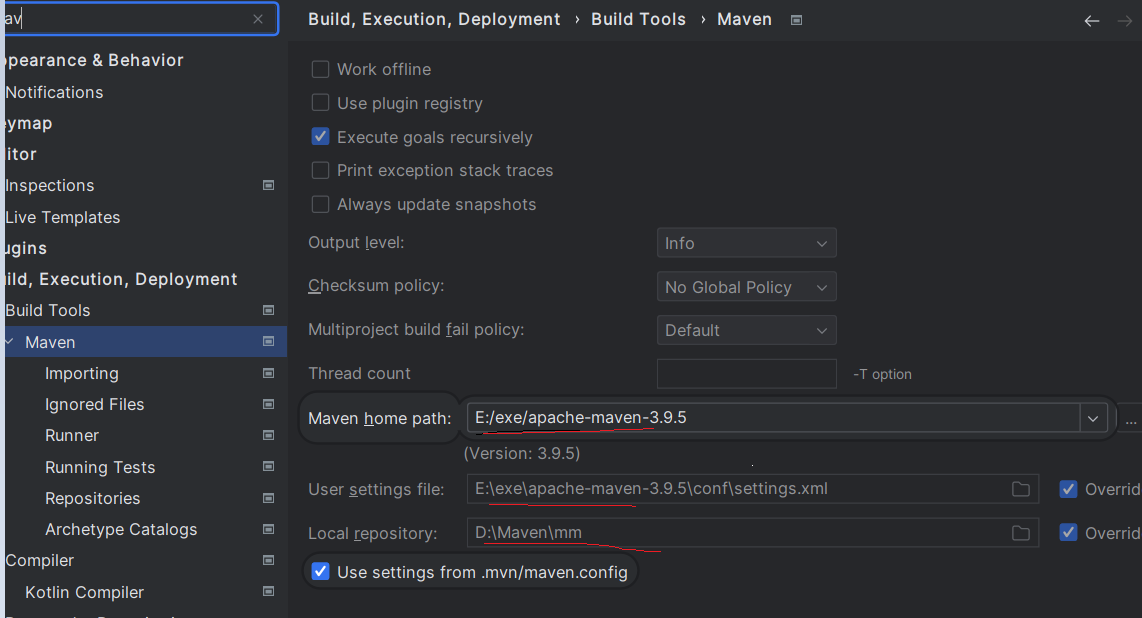
- 注意maven设置为本地
在根目录新建:
src\main\java和src\main\resources、src\main\webapp在pom.xml中加入依赖文件
1 | <dependencies> |
- 手动新建
src\main\webapp\WEB-INF\web.xml
1 | <?xml version="1.0" encoding="UTF-8"?> |
src-mian-java新建一个包名为xyz.shi.servlet, 然后在报名下新建MyServlet
1 | package xyz.shi.servlet; |
- @WebServlet()会根据某些GET请求会生效, 然后里面写的 /hello,表示当请求的url是 /hello 的请求才会生效
- 重写了父类中的get和post方法
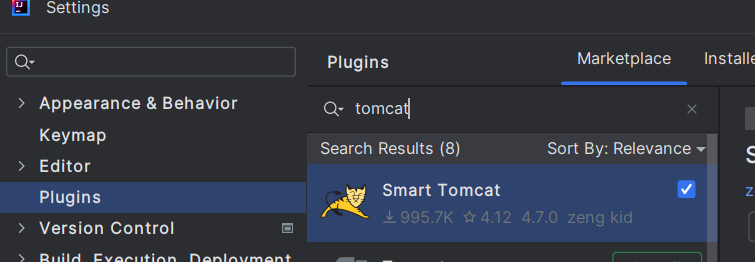
- 虽然打war 复制到Tomcat的webapps里面运行是一种方法,但是这种方法比较麻烦.所以我更推荐使用
Smart Tomcat
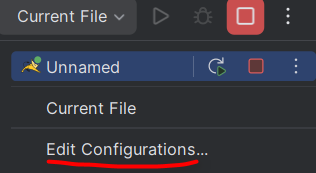
- 打开编辑配置
- 并选择本地tomcat的根目录,设置路径等,端口不用改

- 点击运行按钮
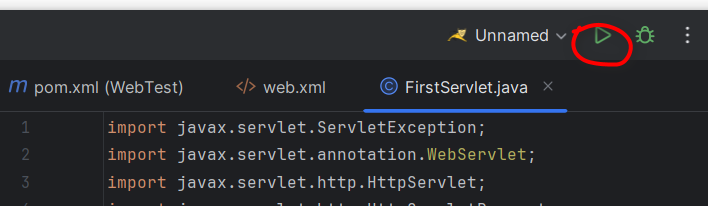
- 出现如下信息说明启动成功
1 | 30-Nov-2023 16:36:32.793 信息 [main] org.apache.coyote.AbstractProtocol.start 开始协议处理句柄["http-nio-8080"] |
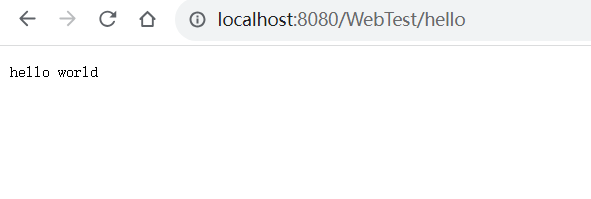
- 浏览器访问
http://localhost:8080/WebTest/hello
- 把
MyServlet中的WebServlet("/hello")的注解去掉
1 | ackage xyz.shi.servlet; |
- 在web.xml文件下,配置Servlet
1 | <?xml version="1.0" encoding="UTF-8"?> |
- 重写运行,在浏览器中访问
http://localhost:8080/WebTest/hello
总结
有两种运行Servlet的方式
- 第一种是在类中直接加上
WebServlet("/hello")的标识,然后启动 - 第二种是在web.xml中进行配置,推荐第二种方式更加方便管理