Dockerfile
本文搭建步骤来自这里
Dockerfile 可以自定义编写镜像,简单来说就类似写shell脚本
Dockerfile命令科普
| 关键字 | 说明 |
|---|---|
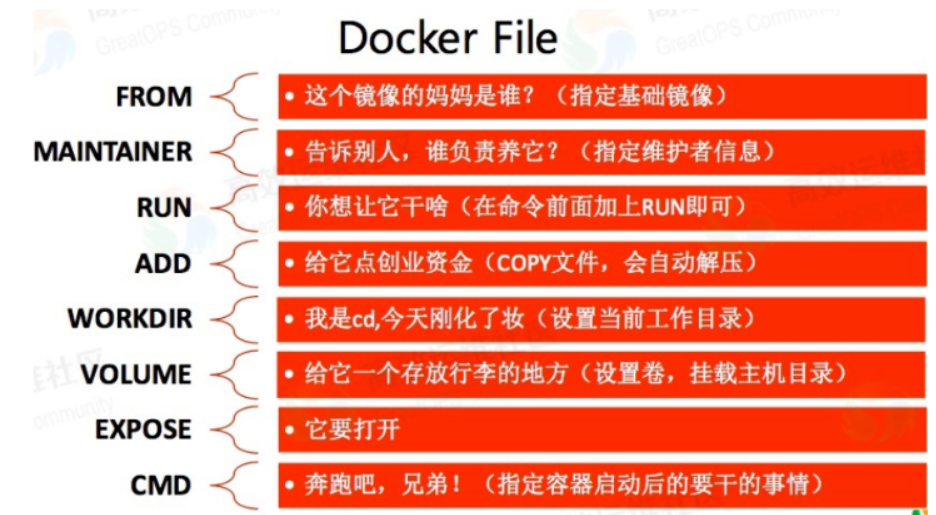
| FROM | 基础镜像,当前新镜像是基于哪个镜像的 |
| MAINTAINER | 镜像维护者的姓名和邮箱地址 |
| RUN | 容器构建时需要运行的命令 |
| EXPOSE | 当前容器对外暴露出的端口 |
| WORKDIR | 指定在创建容器后,终端默认登陆的进来工作目录,一个落脚点 |
| ENV | 用来在构建镜像过程中设置环境变量 |
| ADD | 将宿主机目录下的文件拷贝进镜像且 ADD 命令会自动处理 URL 和解压 tar 压缩包 |
| COPY | 类似 ADD,拷贝文件和目录到镜像中。(COPY src dest 或 COPY [“src”,”dest”]) |
| VOLUME | 容器数据卷,用于数据保存和持久化工作 |
| CMD | 指定一个容器启动时要运行的命令,Dockerfile 中可以有多个 CMD 指令,但只有最后一个生效,CMD 会被 docker run 之后的参数替换 |
| ENTRYPOINT | 指定一个容器启动时要运行的命令,ENTRYPOINT 的目的和 CMD 一样,都是在指定容器启动程序及参数 |
| ONBUILD | 当构建一个被继承的 Dockerfile 时运行命令,父镜像在被子继承后父镜像的 onbuild 被触发 |
- 网上的图片介绍的还不错,仅供参考
本地代码
1 | import requests |
- 导出依赖文件
1 | pip install pipreqs |
- 得到依赖文件(
requirements.txt)如下
1 | pytest==6.2.4 |
服务配置
1 | [root@VM-24-13-centos data]# pwd |
- 编写Dockerfile
1 | vi Dockerfile |
- 编译
dockerfile,build运行(注意后面有个 . ):dcoker build -t 镜像:标签 .
1 | [root@VM-24-13-centos data]# docker build -t test_py:v1 . |
- 编译
dockerfile成功后,会生成镜像文件,下面的test_py就是刚刚生成的
1 | [root@VM-24-13-centos data]# docker images |
- 开启测试:
docker run -it --rm -v /usr/local/docker-demo/data:/python test_py:v1 test.py -s -it:以交互模式运行容器-v:挂载目录/usr/local/docker-demo/data到 容器内python文件夹--rm:容器退出时,自动清除容器test_py:v1:镜像:标签test.py就是源代码文件,因为-v挂载到了本地,使用pytest就能执行到本地源代码-s:pytest 详细信息
1 | [root@VM-24-13-centos data]# docker run -it --rm -v /usr/local/docker-demo/data:/python test_py:v1 test.py -s |